Ableton Push Move & Behringer Edge Workflow – A deep Dive into the Ableton Push Move with Sampling, Sequencing & Syncing.
Hey everyone! Back again with another deep dive into the Ableton Push Move. After releasing a couple of Move-related videos, I received some great feedback—particularly from someone who mentioned they were familiar with the DiggiTakt but not the Move. That’s what inspired this full breakdown: an in-depth guide to how the Ableton Move works, this time paired not with the DiggiTakt, but with the Behringer Edge.
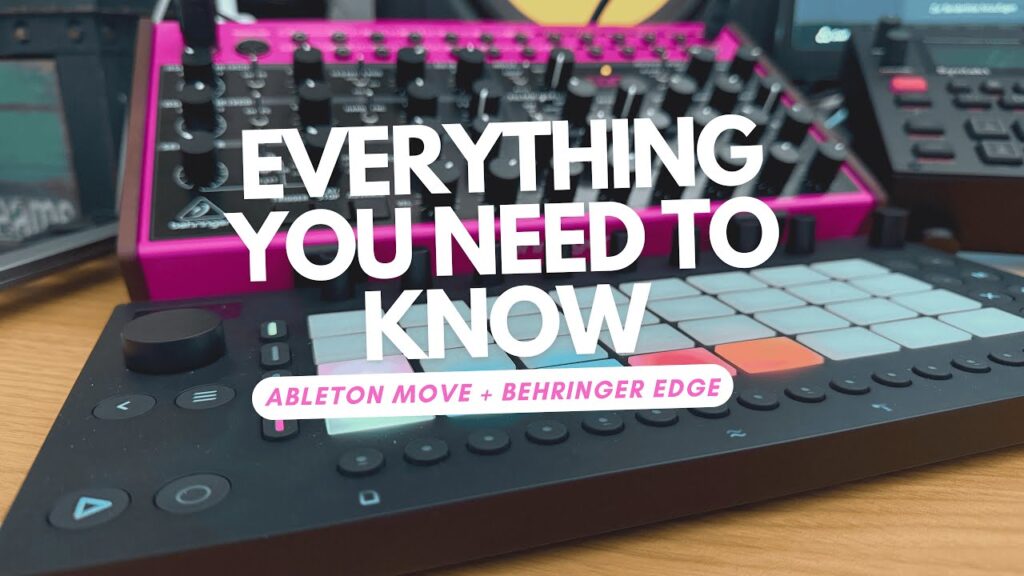
Why Pair the Move with the Behringer Edge?
The Behringer Edge is a fully analog synth with a built-in sequencer and great pitch control. When paired with the digital Move, the contrast creates an exciting and complementary workflow. The Edge brings warm, analog richness to the table, while the Move offers a smooth and intuitive digital interface for sequencing, sampling, and arranging.
Free Sample Pack!
Before we get into it, a quick shoutout to those of you who downloaded my first free sample pack on Gumroad. It’s just my personal collection of go-to drum sounds—nothing fancy—but I uploaded it for free to give back to the community.
Some of you even chose to pay for it voluntarily, and I truly appreciate the support. Thank you!
The Basics: Setting Up the Move & Edge
- The Move is set as the MIDI master.
- A USB-A to USB-B cable connects the two devices for MIDI communication.
- The Edge’s audio is routed through its
phones out, directly into the Move’saudio in. - Audio out from the Move goes into my audio interface.
- Press play on the Move, and the Edge starts in sync—simple and seamless!
Inside the Ableton Move: Tracks, Instruments & Routing
The Ableton Move gives you four tracks, and each can be:
- A drum rack
- A melodic sample
- A built-in synthesizer (e.g., Drift, Wavetable, Melt)
Audio Routing & Recording
The audio signal from the Edge is always audible when connected, which is useful for real-time monitoring or even as a live-through channel.
Note: The Move does not support time-stretching, so loops need to be recorded at the correct tempo.
To work around this, I used a lazy chop method—recording audio directly into a drum rack and slicing it up to fit into pads.
The Move Manager: Wireless Workflow
One of the best features of the Move is Move Manager, a local web interface accessible via move.local.
- Manage projects, samples, presets
- Firmware updates
- Wireless sync with Ableton Live
Global Settings Overview
Press the three-dot menu button to access settings like:
- Wi-Fi, battery, updates
- Link MIDI sync
- Quantization, grid, scale layout
- Metronome, groove, and more
Session View vs. Arrangement View
The Move has a Session View like Ableton Live, displayed horizontally.
- 4 tracks
- 8 clips per track
- Track effects, pad effects, master effects
Effects: Track vs. Pad vs. Master
- Pad Effects: Applied to individual pads
- Track Effects: Applied to all pads in a track
- Master Effects: Applied to the overall project
Sampling & Slicing Audio from Edge
Steps to sample:
- Select a track and enable recording
- Play the Edge sequence
- Record into a drum rack
- Slice and assign to pads
You can even record environmental sounds and slice them up creatively.
Sequencing Tips & Limitations
- Use MIDI capture for spontaneous ideas
- Mute pads or tracks
- Quantize globally or per pad
- Step nudging for swing
- No per-step probability (yet!)
Final Thoughts
If you’re into sampling, performing, and fast workflows, the Ableton Push Move paired with the Behringer Edge is an amazing combo.
Curious to see it all in action? Check out the full video walkthrough to see exactly how I set this up and perform live with it.
Let me know in the comments if you have questions—I reply to every single one. 🙌