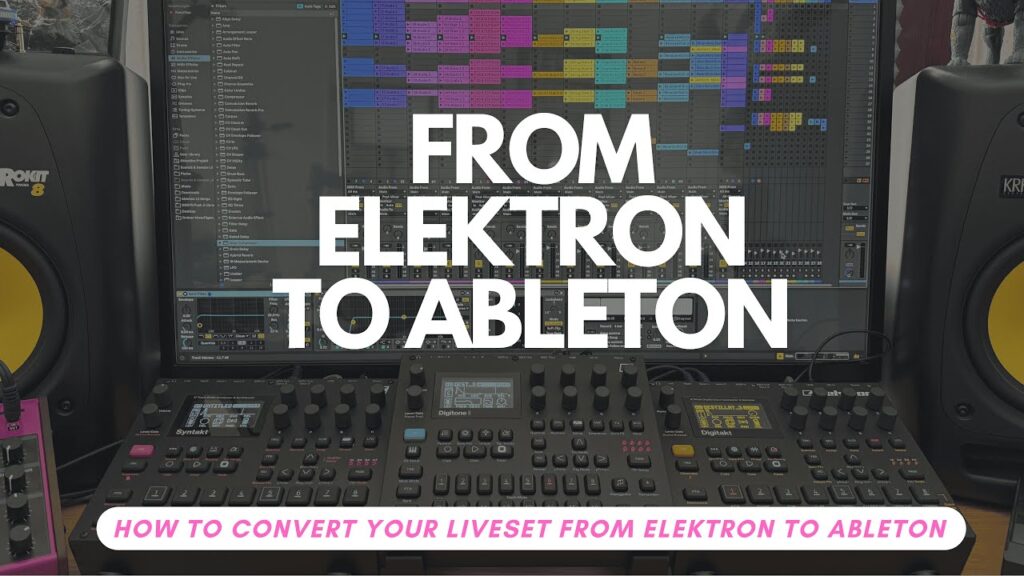
Taking your music from Elektron hardware into Ableton Live opens a toolbox for performance, sound design, and workflow. Whether you use Digitakt, Digitone, Syntakt, or other Elektron boxes, moving your live set into Ableton means fewer headaches at gigs, richer mixes, and fresh creative options. As someone blending hardware, Ableton Live, and Push in a hybrid studio, here’s how you can step into that setup—without losing any of the magic that made you start with Elektron in the first place.
The workflow I’ll describe lets you keep hands-on control, expand your live possibilities, and get professional sound quality—right from rig to stage. If you’re feeling boxed in by hardware-only, or just want your live sets to shine with better mixes and less stress, read on.
Why Move Your Elektron Live Set to Ableton?
Elektron’s grooveboxes are inspiring and fun, but shifting tracks into Ableton brings a new level of control and flexibility. Here’s why making this leap is worth it for any electronic performer:
- Better Sound and Mixes: Ableton makes it easy to dial in EQ and compression. You can match or beat the sound quality and loudness of DJ sets.
- Creative Performance: Slice, trigger, and remix your own stems with Push. You gain new ways to perform—improvise with effects, jam with stems, or play hardware and software instruments at once.
- Easier Gigs: Let Ableton handle repetitive or tricky parts so you can focus on the creative side and avoid technical stress on stage.
- Recording for Release: When you record your Elektron gear into Ableton, you lock in great sounds for both your performances and potential releases.
- Ultimate Flexibility: Add vocals, outside synths, advanced routing, and group processing you can’t do easily on hardware alone.
The result? Your set is tighter, more fun, and cleaner sounding.
If you want ideas on bringing Digitakt and Digitone workflow into Ableton, there are some great community workflow examples from the Elektron community.
Gear and Software You’ll Need
Before you get started, get your setup straight. You need:
- An Elektron device: Digitakt, Digitone, Syntakt, or similar.
- Ableton Live: Version 10 or above recommended for best Overbridge compatibility.
- Ableton Push (optional): Push 2 or Push 3 for hands-on control.
- Elektron Overbridge: This is the bridge between hardware and DAW, letting you stream and control Elekton instruments directly in Ableton.
- Audio Interface: For monitoring or routing other hardware synths.
- Headphones / Monitors: To hear all the frequencies and catch problem spots.
If you need help with Overbridge, check out this solid Overbridge setup tutorial for Elektron devices.
Step-By-Step Workflow: From Elektron to Ableton Live Set
Getting your music from Elektron to Ableton is a straightforward process—when you have a plan. Think workflow, not just export.
Setting Up Overbridge and Ableton
Connect your Elektron box to your computer via USB. Open Ableton and load Overbridge as a plugin on a MIDI track. For every Elektron box you want to record, add an Overbridge instance.
- Select the right inputs for each track.
- Set Ableton’s record monitoring to off or auto (to handle latency).
- In your Elektron box, mute everything except the part you want to record.
- Double check that Overbridge is working—hit play in Ableton and make sure your Elektron tracks play back in sync.
Learn more with this Ableton Elektron workflow thread if you run into setup issues.
Recording and Organizing Stems from Elektron
For each part of your track (kick, bassline, percussion, synth), record clean loops or stems.
- Solo just one element at a time for recording.
- Name tracks as you record—be specific: include song name, part, and BPM. For example: “DeathPilot_Bassline_128BPM”.
- Don’t record every tiny sound if you want creative freedom later. Leave parts free for live synths or external gear.
- Add natural movement while recording (like tweaking filters in real time) so recordings aren’t static.
Keep in mind which elements you want ready-to-trigger and which you want to play live or improvise with.
Mixing Stems for a Pro Live Sound
Before importing these stems into your live set, mix them to sound clear and club-ready:
- EQ: Start by rolling off sub-bass (e.g. below 38 Hz), remove harsh peaks, and clear out muddy mids. Elektron’s FM boxes often produce sharp, unwanted frequencies—cut those surgically.
- Compression: Use light bus or glue compression on each group to even out volumes. Increase makeup gain to get tracks at similar loudness (aim for around -12dB per stem).
- Label, listen, adjust: Check for harsh edges in headphones, especially percussion and FM synths.
A solid approach to mixing and exporting stems in Ableton is outlined in this guide on making stems in Ableton Live.
Exporting and Naming Files Properly
After mixing, export stems and use consistent naming.
- Include song name, which part, and original BPM.
- Collect and save all samples in the Ableton project to ensure nothing goes missing when transferring between computers or loading onto Push.
- Double check your stems are labeled to match your future live set structure.
For difficulties with warping and stem import, check Ableton’s official advice on importing and exporting stems.
Building and Tweaking Your Ableton Live Set
With your stems ready, it’s time to build a set that feels tight, creative, and reliable for live use.
Importing and Grouping Stems
- Open a blank Ableton set.
- Decide on your track structure: The Push interface works best with 8 tracks (you can scroll for more, but eight is simple and quick on stage).
- Group similar tracks. Example: multiple bass or percussion stems grouped under a single „Bass“ or „Percussion“ label. Use color-coding to keep things clear (e.g., red for drums, orange for bass).
- Import stems to matching groups for easy triggering and on-the-fly arrangement.
If you want ideas for group layouts, this Elektron-Ableton workflow in the Ableton forum is packed with tips from experienced users.
Adding Drums, Synths, and External Instruments
- For drums, Ableton’s Drum Rack is perfect. Load your own Elektron sounds for flexibility.
- For synths or leads you want to play live, add a MIDI or External Instrument track, pointing to your hardware synth (like a Minilogue XD) or VST of choice.
- Highlight important instrument tracks with color to easily spot them on Push during a performance.
Setting Up Sidechain Compression for Club-Ready Dynamics
In hybrid sets, kick signals often end up grouped with other drums, making normal sidechain setup tricky.
- Create a silent kick track as your sidechain trigger. Load a simple kick sample, mute the output, and route this channel as the sidechain input for all your compressors.
- Name this „SC Trigger“ and color it black for quick reference.
- Use glue compressors or Ableton Compressors with sidechain input on your key stem groups (bass, chords, etc.), so every element moves with the kick—perfect for dance music energy.
Dialing In Warp Modes and Clip Settings
- After importing stems, set warp mode for each audio clip. Use Complex/Complex Pro for stems to keep quality intact when changing tempo.
- For performance, make sure long samples don’t warp by default (set in Ableton’s preferences). Handle warping manually for precision.
- Double check all your clips for alignment after importing, especially if you plan to change tempos during your set.
Bringing It All Together: Jamming and Playing Live
Everything now connects. You get great sound and flexibility from Ableton, with the hands-on feel of your Elektron gear and Push. Scenes and clips are ready, groups are colored, and your sidechain ducking keeps grooves tight.
Best of all, you can jam and play on top, improvise with effects, and weave external synths into your set. You don’t have to ride faders to fix bad levels, since everything came in mixed and ready. When you want to raise the energy or try something new, it’s all just a button or knob away.
From here, practice triggering scenes, muting groups, and experimenting with effect racks on Push. If you want more examples or inspiration, the Ableton and Elektron user communities are full of workflow ideas to help you level up.
Conclusion
Moving your dawless Elektron set into Ableton Live isn’t just a technical upgrade—it’s a creative unlock. Record and label your stems with Overbridge, mix them for clarity, build a live set that’s playable (and fixable) in the moment, and keep your hardware at the heart of every jam.
The biggest win? You get room to experiment, play, and have fun—without sacrificing the feel and immediacy that makes Elektron gear so special.
If you want to hear more about building hybrid live sets, or check out some free drum samples, grab the sample pack over on Gumroad from NOGASAYAN. And if you have your own workflow tips, share them—you’ll help make the Ableton Elektron scene even stronger.
Keep exploring, keep sharing, and make music your way.